Military and Student
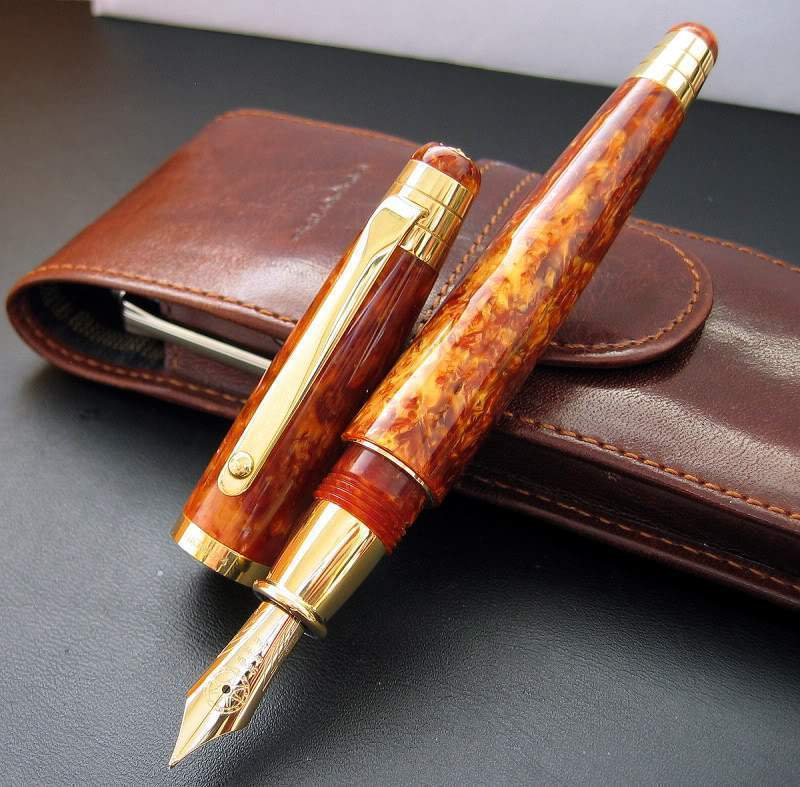
How to get that award winning wood finish with CA glue and protect your work for years to come.
Put away that bottle of varnish and let's dive into the world of cyanoacrylate finishes.
Why CA?
CA/Cyanoacrylate/Super Glues like GlueMasters or Gravix are used beyond its normal adhesive applications and work as perfect finish coating layer for small woodturning projects like pens, tool handles, knobs, spinning tops, etc.
Super glues work great for woods with an open pore structure such as Purple Heart, Wenge, Bocote and figured oak.
If done right the final finish is not only beautiful but also hard, clear and waterproof. It will last for years or sometimes even a lifetime, unlike regular wood finishes. This is super critical for products like pens, for instance, where it will be under constant contact with fingers. CA finish will also protect your piece of craft against different types of unwanted impact.
It can be reversed: a useful feature when you need to do something differently or introduce a change in your finish. Use our debonder and remove CA at will.
How does CA work?
CA is a fast-acting adhesive that reacts to moisture, present on the surface, during polymerization. Thinner glues have faster polymerization/setting and curing times, they also penetrate deeper in the pores of the wood. You can use accelerator to speed up the hardening time but we will go into more detail on the accelerator use case a little bit later.
The Method (example used here is for penturning, but applicable to any small wood turning project).
Let me mention - this is one of many variations on how to apply ca adhesive for the perfect finish. Every craftsmen has its own style, so please use it as a starting point and then work it into your own toolkit as you see fit. We all develop our unique creative fingerprint after all :).
1. Inventory list
You will need:
- a lathe :)
- your pen blanks, prepped and ready for the coat
- polyethylene glove, or wrap you thumb and index finger with the masking tape, so that you will not get ca on your hands
- multiple pieces of paper towel, napkin or note paper roughly 2" x 3"
- our thin and medium CA (or any other reputable brand)
- accelerator
- debonder (optional) in case things get messy
2. Safety
Please, do not take this section lightly - always ware protective glasses and work in well ventilated place when applying CA adhesives.
3. Prep work
You already turned and sanded you blanks to about 600 grit. Now lets make sure there is no sanding dust left over on them and on the bench as well. Clean your lathe, blanks and surround area of the workbench with a cloth dampened with methyl hydrate.
You may also want to invest into special plastic non-stick bushings, so that you don't have to clean you metal ones afterwards and minimize ca crowning on the end of the blanks. This is really optional, but these bushings are super easy to make or just get it for under 10 bucks from amazon.
4. Let's get started
Place a piece of rag on top of lathe bed so it will catch any rouge ca that can get on it.
Put the glove on your right hand (if you are right handed) and hold the paper ready.
Set your lathe to the slowest speed to avoid heat build up during the application. We recommend to set to 100 rpm if possible.
Add 2-3 drops of CA to your paper and quickly apply it to the blank, working left to right and back, as it is rotating on the lathe. You need to spread the glue evenly for the best coat. This is the part that needs some practice and field experience. Do this step for too long and you will start feeling friction which would mean you are working with a coat that is starting to set. You should not get to that point. Make couple passes with the paper to make sure the coat is even and that you covered the full surface.
Quickly apply your first coat and let the CA cure.
Repeat this step 2-5 times with thin CA, depending on the wood. More porous the wood - more layers you will have to go.
Now this is the part where you might want to use the accelerator as it speeds up the process and cures the CA much faster. Make sure you are not over spraying it, as this can cause haziness in the coat. Do 2 quick pumps with our Accelerator right after each pass of CA - that should be enough.
Switch to medium CA after several coats of thin and apply it 3-5 times using the same method.
That completes the coating part.
Now let's make it smooth as a mirror.
Let's bring the RPM to about a thousand and start hitting our finish with a 600 grit sandpaper. Apply light pressure as the only thing we are trying to achieve here is leveling the CA finish across the surface and make sure we do not have any hills and valleys.
After you achieve a smooth and even feel, let's switch it Micromesh.
We recommend a nine step Micromesh kit. Start wet sending your blank going from 1500 grit all the way to 12000. A good indicator on when to switch from one pad to another is when you can see the slurry of CA that starts to build up on the pad. That means that it starts to cut into adhesive and it is time to switch to a finer grit. Use 2 tabs of water - one to clean the Micromesh and the other to wet sand.
As a final touch you can apply a polish compound or a Jewelers Rouge. Works extremely well if you have a buffing wheel.
Enjoy.